
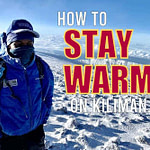


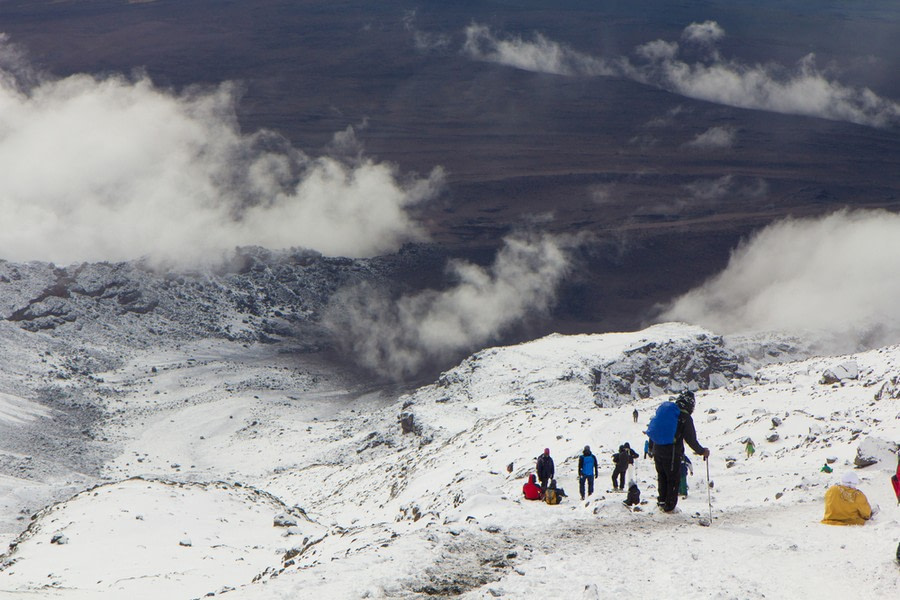
Summit night on Mount Kilimanjaro brings excitement along with anxiety for most people. The thought of ascending to 19,341 feet during the night in freezing temperatures is daunting. In a previous article, we discussed 10 tips that make summit night easier.
This article adds 10 more tips that’ll help you reach to the top.
1. It’s Just Another Day Hike
Summit night can feel like a gigantic event in your head. It’s the highest altitude you’ll experience, as well as the longest duration, and the most elevation gain and loss you’ll cover in a single push. All of that can build up into a huge amount of pressure.
We’ve seen people’s emotions shift in the hours leading up to the summit. Hearing about the climbing conditions can be intimidating. The challenge is real, but far from insurmountable. Summit success rates prove this.
So don’t make a mountain out of a molehill – even if you are actually on a mountain. If you step back and look at it plainly, summit night is simply a continuation of what you’ve been doing. At its core, it’s just another day hike. If you feel yourself getting anxious about summit night, remind yourself that there’s nothing new here and more importantly, it’s nothing you can’t handle.
2. Be Bold, Start Cold
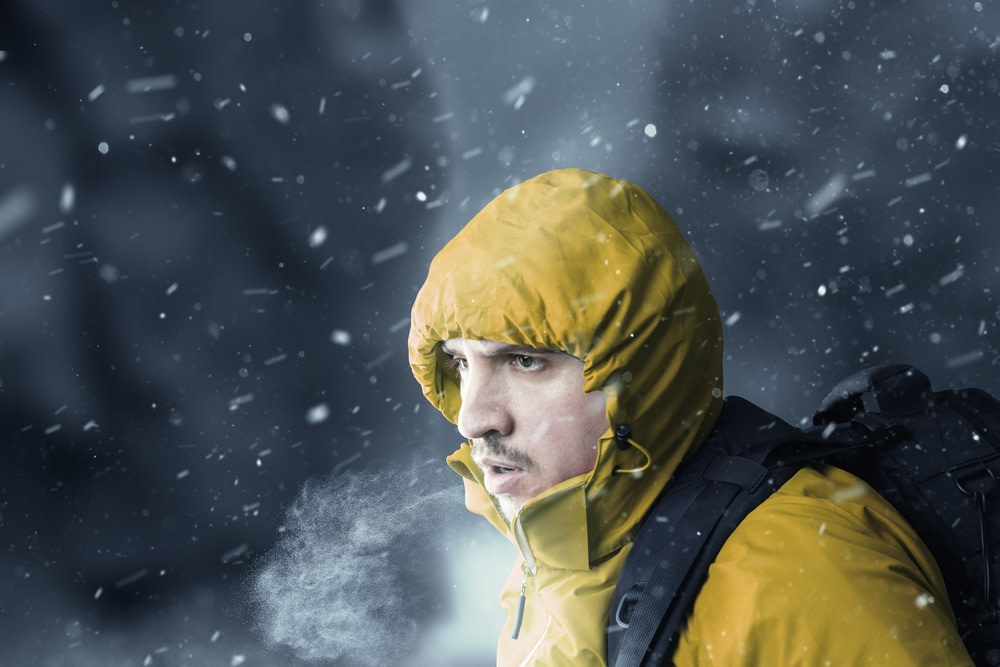
People are usually afraid of the cold on summit night. As a result, most overdress. They walk out of camp bundled up because it feels safe and comfortable in the moment. But this can create problems. Because not long after you start climbing, the body warms up fast. By wearing too much clothing, you overheat and begin to sweat. That moisture gets trapped in your base layers and pulls heat from your body when you stop for breaks. Once you get chilled from the inside, it is hard to warm up.
A better approach is to start the summit bid slightly cold, knowing that the physical effort will warm you to a comfortable level within fifteen or twenty minutes. Starting cool protects your layers from moisture and keeps you warmer for the rest of the night.
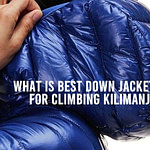
Note that you don’t want to stand around cold for long while waiting to leave camp. If necessary, wear your down jacket to stay warm as you prepare your gear, eat, and wait to depart. Right before (one minute) you start walking, take off the down jacket and put it in your daypack. By shedding the top layer in the final minutes, you stay comfortable at camp, minimize the time feeling cold, and keep your base layers dry.
Where most people go wrong is they leave the top layer on, start hiking, overheat quickly, and end up stopping to remove it 20 or 30 minutes later. By that point, they’ve already started sweating.
3. Make Micro Adjustments
Be bold, start cold keeps you dry in the beginning of the summit hike. But micro adjustments keep you dry for the rest of the climb. When it comes to body temperature, the goal is not to be as warm as possible. The goal is to be warm enough without sweating.
This is where micro adjustments come in. There are times when it’s necessary to make big changes like stripping a full layer. However, most of the time, it’s enough to make small tweaks to your clothing as you go.
For example:
- Unzip your jacket a little or a lot
- Open your ventilation zips
- Loosen your cuffs
- Untuck your base layer
- Remove your hat or neck gaiter
- Take off your gloves
Small moves like this let excess heat escape in a controlled manner. If you feel the first hint of sweat, react early. Don’t wait until you’re drenched. Make a quick adjustment and see how you feel. Then adjust again if needed. If you feel cold, reverse the process. Close zippers. Add a hat. Add gloves. Seal off vents.
Effective temperature control on summit night is not just about having the perfect layering system. It is about paying attention and making continuous micro adjustments to stay warm, dry and comfortable for the entire climb.
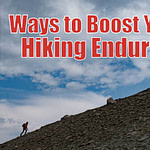
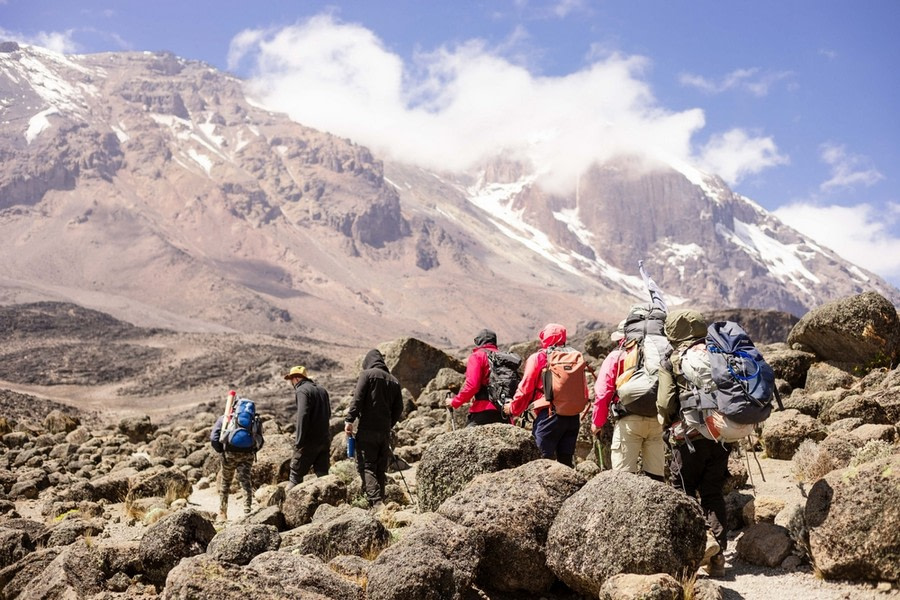
4. Maintain a Steady Effort
Good hiking begins with efficiency. The best hikers move with steady output and avoid unnecessary spikes in effort. Research shows at high altitude, sudden bursts of high effort have a disproportionate impact on heart rate and fatigue. You cannot recover the same way you would at sea level.
On Kilimanjaro, the lead guide sets the pace, which is slow, reasonable and manageable. Your job is to match that pace as closely as you can. In a perfect world, everyone in the party would walk at the exact same speed. But in reality, some people will naturally be a bit faster or slower, especially in larger groups. In a single file line, this creates bunching and gaps. The accordion effect forces the whole team into constant surges and stops. These fluctuations waste energy.
To avoid this, keep a consistent and sizable buffer between you and the person in front of you. Don’t walk one or two steps behind them. That distance is too tight. Instead, give yourself a cushion by staying several steps back. This allows you to absorb small variations in pace. Think of it like adaptive cruise control in a car. It maintains a safe, consistent following distance, adjusting smoothly without sudden jumps. That is exactly what you want, not only on summit night but on the standard day hikes as well.
Smooth, predictable movement is the goal. Your steps and breathing should feel rhythmic and controlled.
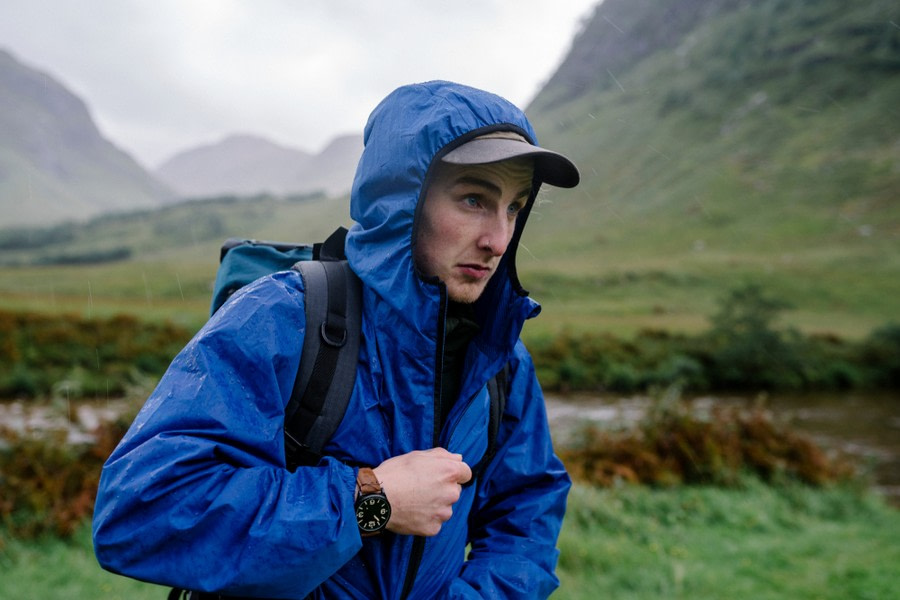
5. Warm Your Hands
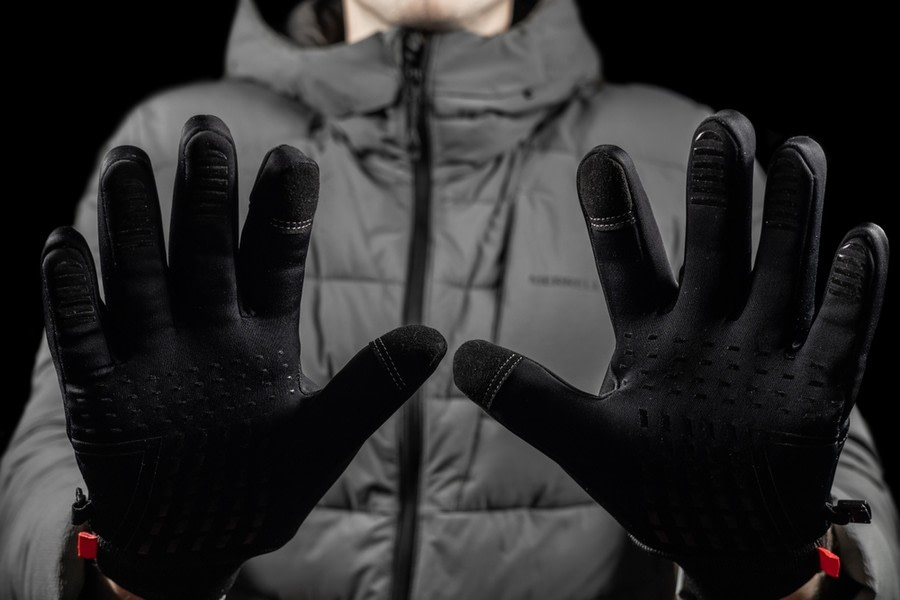
Cold hands are a common issue on summit night. Even with good gloves, many people lose feeling in their fingers from gripping trekking poles. Though the arms are being worked, the fingers stay wrapped around a handle, restricting circulation.
A simple method that works well is to hike with one pole while keeping the other hand in your jacket pocket. Every so often, switch hands. This method ensures that no one hand is exposed to the frigid air for too long, while still getting the benefit of a trekking pole. Alternating hands is low effort, low risk, and effective.
6. Keep Batteries Alive

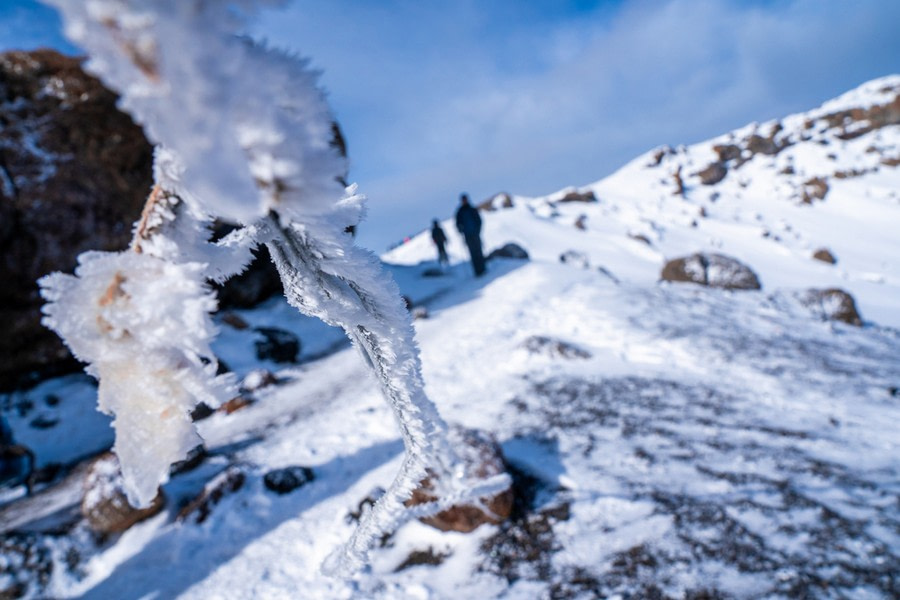
Electronics do not handle freezing temperatures well. On summit night, temperatures can range from 20°F to -20°F (-6°C to -29°C). In those conditions, battery performance drops fast.
To prevent this, keep your electronics close to your body. Carry your phone in an inside jacket pocket, near your chest, not in an outer pocket or your pants. Batteries should go in the same place. Cameras should be wrapped in a mid layer and placed inside the daypack until sunrise.
This protects the electronics and preserves battery life for the moment when you’ll need them the most – at the summit.
7. Stay Connected

Summit night often becomes very quiet. When people struggle, they tend to go inward. It is easy to retreat into your own head and ignore those around you.
Silence is not necessarily a problem, but some conversation between you and your teammates can go a long way to boost morale. So try to make it a point to talk occasionally, even if you don’t feel like it. Simple questions like “You ok?” or “How are you doing?” are enough.
Our guides will be monitoring and encouraging you throughout the night. But support from other climbers often carries more weight due to shared hardship. Hearing from someone who is struggling the same way you are can feel more meaningful than hearing the same message from a guide who climbs 20 times a year.
These small interactions create a sense of connection. They remind everyone that they are part of a team, not alone in the dark. That matters when you’re fighting doubt and fatigue. Studies on endurance events show that perceived effort changes when people feel supported. The physical load may be the same, but the mental burden feels lighter. A few words from a teammate can tip the balance between quitting and continuing.
8. Ask Guides for Help
Communicating with your team is good. Communicating with your guides is critical. On the mountain, honest dialogue is paramount. Don’t say you’re fine if you aren’t. If you need help, speak up.
Our guides fully expect that some climbers will need assistance. Remember that the guides are there to support you and can remove some of the physical burden. For instance, they can carry your backpack. They can help you put on or take off layers or tie your shoes. They can assist with your snacks and water. They can walk alongside you, take a break with you, or reposition you in line.
Some climbers try to push through it alone. They don’t want to admit they are having a hard time. As a result, they struggle on their own until it’s apparent they need help. By that time, it could be too late. Asking for help early rather than late can keep small problems from turning into big ones.
9. Plan Your Summit Photos
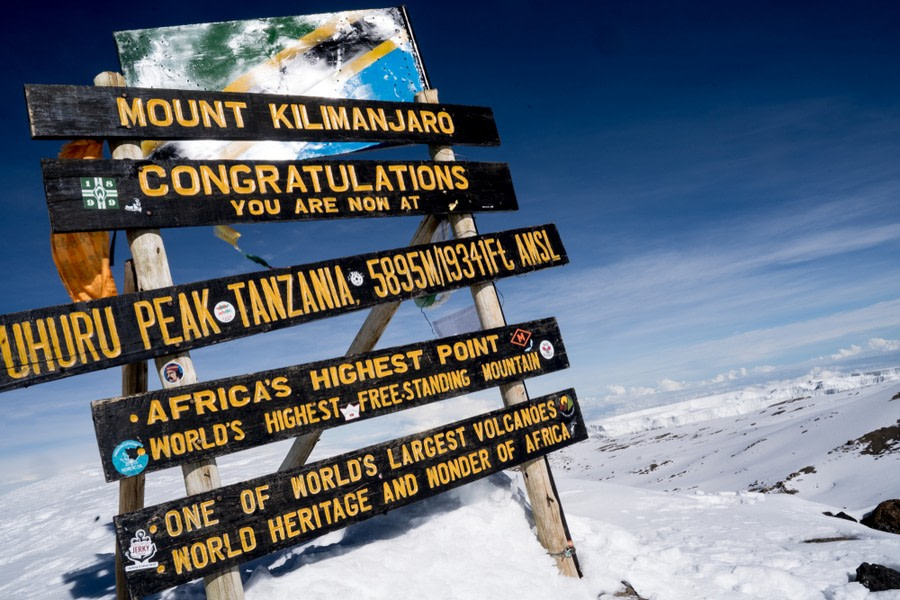
Reaching the summit is exciting. Finally, after hours in the dark, you’ve made it to 19,341 feet, the highest point in Africa. Along with the joy and relief of making it, it can feel chaotic or rushed with all the other groups converging in the same spot. Having a summit plan in advance helps cut the stress.
In another article, we discussed a number of gear adjustments to make at the top. What we didn’t mention is something most people consider to be the most important memento of the trip – summit photos. Here are some things you should think about beforehand to make sure your moment is captured cleanly.
First, decide who will take photos and with which cameras. Fumbling in pockets with gloves on, unlocking phones, and passing devices back and forth can become messy. If you’re in a large party, it’s smoother to have one or two designated photographers take all the individual photos with their own cameras. Don’t worry about the group shot; the guides will handle that.
Second, know your poses ahead of time. Move through them quickly so you have multiple options without holding up the line. If other teams are waiting for their turn at the sign, don’t treat it as a personal photo session. Be courteous of others.
Arguments and shoving matches have occurred in the past as climbers became impatient or tried to cut the line. Don’t be one of those people.
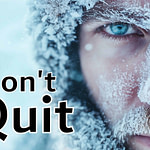
10. Know When to Push (or Quit)
This is the most important tip. Everything else in this video applies only when you’re able to continue safely.
On summit night, it is normal to feel tired at some point during the ascent. This should be expected. Hiking at high altitude for many hours will wear you down. Experiencing low energy, tired legs, or dwindling motivation is par for the course. In these circumstances, it’s generally OK to continue as long as you feel in control and steady.
Feeling sick, on the other hand, is a different story and requires more caution. Worsening symptoms of acute mountain sickness need to be taken seriously. Our guides are trained to look for these signs throughout the climb. But the primary person responsible for your safety is you. External symptoms show part of the picture, but only you know how you truly feel. If something feels wrong, the right choice is to descend. You do not need to wait for a guide to make that call.
Knowing when to push and when to quit is part of being a responsible climber. Strong judgment is just as important as strong legs on Kilimanjaro.
Ready to book your Kilimanjaro climb? See our dates & prices.

")


